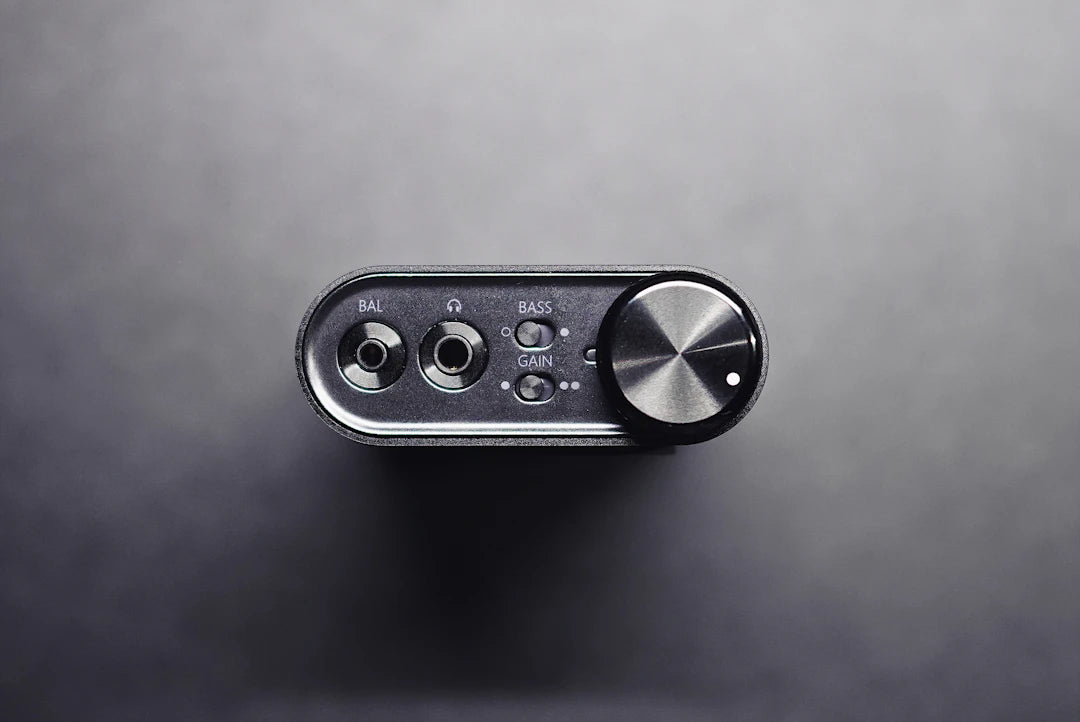
Connect Microphones to Your Audio Interface: A Beginner's Guide
Share
Frequently Asked Questions
1. What is an audio interface?
2. What are the different types of microphones?
3. How do I connect my microphone to an audio interface?
4. What is phantom power and when do I need it?
5. What should I do if there's no sound from my microphone?
Microphones are essential tools for capturing high-quality audio, whether you're recording music, podcasts, or voiceovers. If you're diving into the world of audio production, you may wonder how to connect microphones to your audio interface effectively. This guide will help you understand the basics and ensure you are set up for success in your audio journey.
Understanding Audio Interfaces
Before we get into connecting your microphones, it’s important to understand what an audio interface is. An audio interface is a device that acts as a bridge between your microphones and your computer. It converts analog signals into digital formats and vice versa, allowing for the recording and playback of audio with high fidelity.
When looking for the best audio interfaces, consider the following factors:
- Number of inputs and outputs
- Preamp quality
- Phantom power availability
- Connection type (USB, Thunderbolt, etc.)
Selecting the Right Microphone
Not all microphones are created equal, and the type of microphone you choose can impact your recordings. Here are some common types of microphones:
Dynamic Microphones
Dynamic microphones are robust and versatile, making them ideal for live sound and studio work. They handle high sound pressure levels well, making them perfect for loud sources like guitar amplifiers and drums.
Condenser Microphones
Condenser microphones are more sensitive and accurate than dynamic ones. They excel in studio environments where capturing detail is key. They often require phantom power, which most audio interfaces provide.
Ribbon Microphones
Ribbon microphones provide a natural sound and are excellent for recording vocals and acoustic instruments. However, they are more fragile than their dynamic and condenser counterparts.
Connecting Your Microphone
Now that you understand the types of microphones, let's dive into the steps to connect a microphone to your audio interface. Follow these simple steps to ensure a smooth setup:
Gather Your Equipment
Before connecting, gather the following items:
- Your microphone
- An XLR cable
- Your audio interface
- Your computer
Step 1: Connect the Microphone to the Audio Interface
Most microphones use an XLR connection. Connect one end of the XLR cable to the microphone and the other end to the mic input of your audio interface. Ensure the connection is secure to avoid any interruptions during recording.
Step 2: Enable Phantom Power (if needed)
If you are using a condenser microphone, you will need to enable phantom power on your audio interface. This setting is usually indicated by a +48V button. Ensure that your interface is powered on before activating this feature to avoid unnecessary noise or damage.
Step 3: Adjust Input Levels
After connecting your microphone, open your audio recording software. Adjust the input levels to ensure the microphone signal is neither too low nor clipping. A healthy signal generally hovers around -12dB to -6dB in the digital realm.
Step 4: Check Monitoring Options
Most audio interfaces come with monitoring capabilities. They allow you to hear what you are recording in real-time. This feature can be critical for ensuring optimal performance and for keeping track of audio quality during recording sessions.
Common Troubleshooting Tips
Even with a perfect setup, issues may arise. Here are some common troubleshooting tips:
No Sound at All
- Ensure the microphone is plugged in correctly.
- Check if the phantom power is switched on for condenser mics.
- Verify the correct input channel is selected in your software.
Sound is Too Low
- Turn up the gain on your audio interface.
- Check your microphone's output level and adjust as necessary.
Distortion or Clipping
- Reduce the gain level on your audio interface.
- Position the microphone further away from the sound source.
Optimizing Your Audio Setup
Getting the best sound from your recordings isn’t just about connecting equipment correctly; it also involves setup optimization. Here are a few tips to help you create a more welcoming audio environment:
Choose the Right Environment
Noise can be your enemy when recording. Choose a quiet space to minimize background sounds. Also, consider using soundproofing methods such as heavy curtains, rugs, or foam panels to reduce reflections and echo.
Microphone Placement
The placement of your microphone can significantly influence the sound quality. Experiment with distances and angles to find the sweet spot for capturing the best audio. As a general rule, vocals sound better when the microphone is positioned slightly off-axis.
Post-Processing
Once you have recorded your audio, post-processing is vital. Use digital audio workstations (DAWs) to edit your recordings. Apply EQ, compression, and reverb as needed, ensuring the final mix sounds polished and professional.
Final Touches to Your Recording
After you've set everything up, it’s time for your recording. Keep the following in mind:
- Perform a sound check before starting the actual recording.
- Keep hydrated and relaxed to achieve the best vocal performance.
- Take breaks if you’re recording for an extended period to maintain your energy and focus.
Ready to Roll
Now that you've learned how to connect microphones to your audio interface successfully, you’re well on your way to embarking on your audio adventure! Remember, the best audio interfaces are your doorway to high-quality recordings, but it's your skills and creativity that will ultimately shine through. Experiment with different techniques, learn from your experiences, and don't hesitate to try new things. The world of audio is vast, and every recording session will enhance your expertise.
So grab your microphone, connect it to your interface, and start capturing the sounds that inspire you. Happy recording!
